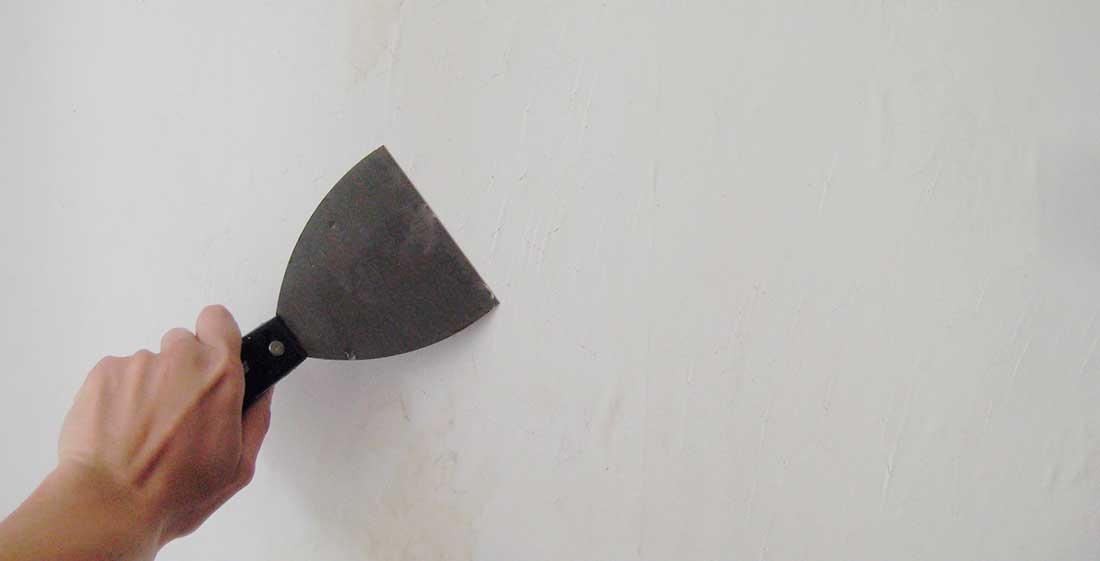
Learn How to Patch Drywall with These Easy Steps
Patching drywall is one of those home improvement projects that you can do on your own. With the right materials and attention to detail, you can have your walls ready for a new coat of paint! For this reason, we invite you to read our blog to learn how to patch drywall by yourself.
We’ll show you an easy step-by-step guide that you can follow to ensure a smooth surface on all your walls. You’ll be able to complete this project by yourself before you repaint your walls.
Follow These Easy Steps to Learn How to Patch Drywall!
Whether you have a large hole or small dent on your wall, we can help you repair it! With these easy steps, you’ll be able to make your drywall look like new. You just need the right tools, materials, and dedication to complete the job with success.
After reading this blog, you’ll know how to patch drywall the right way. So, whenever your walls need a touch-up, you’ll be able to do it by yourself! Yet, if you need help at any point, you can always count on Lion Painting and Drywall Services to help you.
Make Sure You’re Ready to Patch Drywall
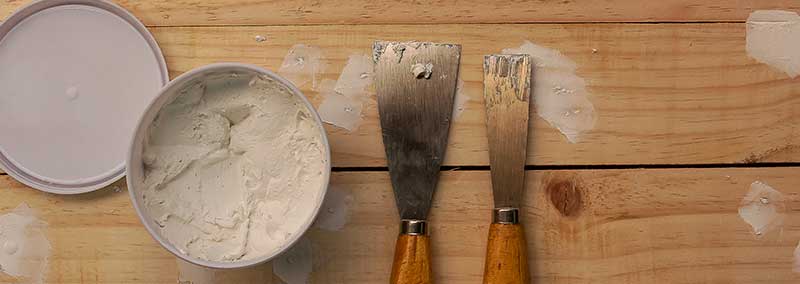
The first step to start patching or repairing drywall is to make sure you have all the materials you need. Whether it is a small or large project, you must have the proper materials and supplies to complete the job. These are some of the materials you’ll need:
- Drywall tape
- Nails
- Joint compound
- Drill
- Tape measure
- Sanding paper
Evaluate Your Project
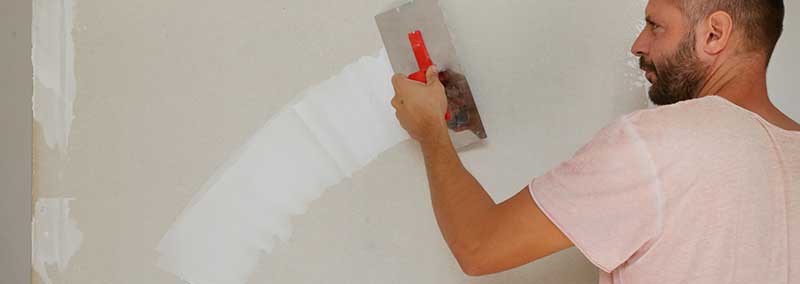
There’s a difference between patching a small hole and an entire drywall sheet. Thus, you need to consider how big or small the project is before you start working. If you find that the job is too big for you to handle, our drywall contractors are available to help you.
Evaluating your project is essential. This is because there are several points you need to consider. Firstly, you have to know how big or small your project is to know how much of the materials you need to buy. Secondly, you’ll need to check if you have the right equipment if the project is a much larger one. And lastly, you need to know how much time you’re going to take patching the drywall.
Outline and Cut Damaged Area
When patching drywall, most of the time, you’ll need to eliminate the damaged area. How do you do that? It’s quite simple! You’ll first need to outline with a carpenter’s square. When outlining, you can use a pencil or a marker.
Try to do the outline at least 3 centimeters or more above and below the damage. After outlining, you’ll need to use a saw blade to cut the shape out. You can also use a utility knife if you don’t count on a saw by your side. For your safety, you’ll need to cut AWAY from you and not to face your direction!
Cutting and Placing the Drywall Patch
For the drywall patch, you’ll need first to measure the area in which you’ll need to place it. You can use the same carpenter’s square you used to measure the damaged area for this step. After making the right assessment, use a drywall knife to cut the board for space.
When it comes to installing the drywall patch, place the screws an inch from the borders. By doing this, you’ll prevent any crumbling that might occur to the drywall. Lastly, you’ll require a drill to install the drywall patch.
Apply the Tape and Compund

After you’ve placed the new drywall board on your wall, then you can start applying the drywall tape. You use the tape around the seams of the board so that it doesn’t get damaged in the future. This tape should also cover the new board as well as the nails holding it in place.
The way you apply the tape and compound will depend on your project. For a small hole, you’ll have to use a drywall knife. With this, you’ll cover the drywall board or patch with the compound. If needed, you can also apply a second coat of compound after the first one is dry.
Easy Drywall Patching: Sandpaper and Texture
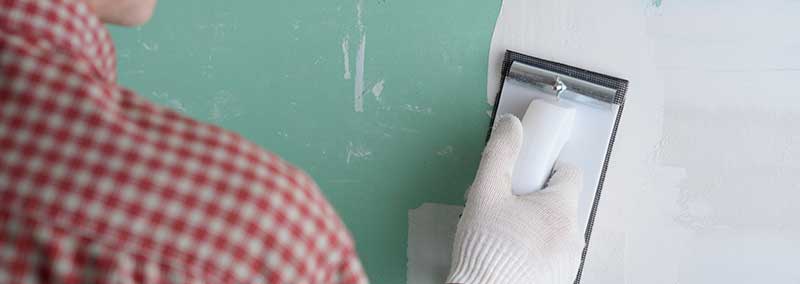
One of the most important steps to learn how to patch drywall is knowing how to sand down the patch. This is done to achieve a smooth surface. Therefore, you’ll have to choose the right type of sandpaper for your specific project. Some of the most popular sandpaper options are garnet paper, aluminum-oxide paper, and silicon-carbine sandpaper.
After you’ve completed all the steps above, you can’t forget about sanding the drywall. This is a crucial step since it is what will determine if the surface is smooth. Even though this task is exhausting, it’ll be worth it having perfect walls! The way you sand and the type of sandpaper you use will depend on the texture that you want to achieve.
Ready to Patch Up Your Drywall?
Now that you know the necessary steps in how to patch drywall, you can now start fixing your walls at once!
Before we go, we’d like to share with you some pro tips for when it comes to patching you gypsum boards. First and foremost, you need to use a self-priming filler whenever you’re going to repair it. This will help prevent any foggy spots.
Second, when counting on drywall cracks, you can patch them up with a repair spray. These bothersome cracks usually appear around windows and doors due to the constant movement of these. By using a crack repair spray, you should cover up these cracks without a problem. Not only that but also you’ll provide a flexible covering that’ll keep these gaps sealed!
Lastly, before sealing the drywall, you should seal any exposed drywall paper. By doing this, you’ll be saving yourself from the trouble of having bubbles on your drywall.
When in need of professional help, don’t hesitate to contact our crew! By getting in touch with Lion Painting and Drywall Services today, you can claim a free quote. With our team by your side, you’ll have experts that know how to patch drywall handle all your problems!

