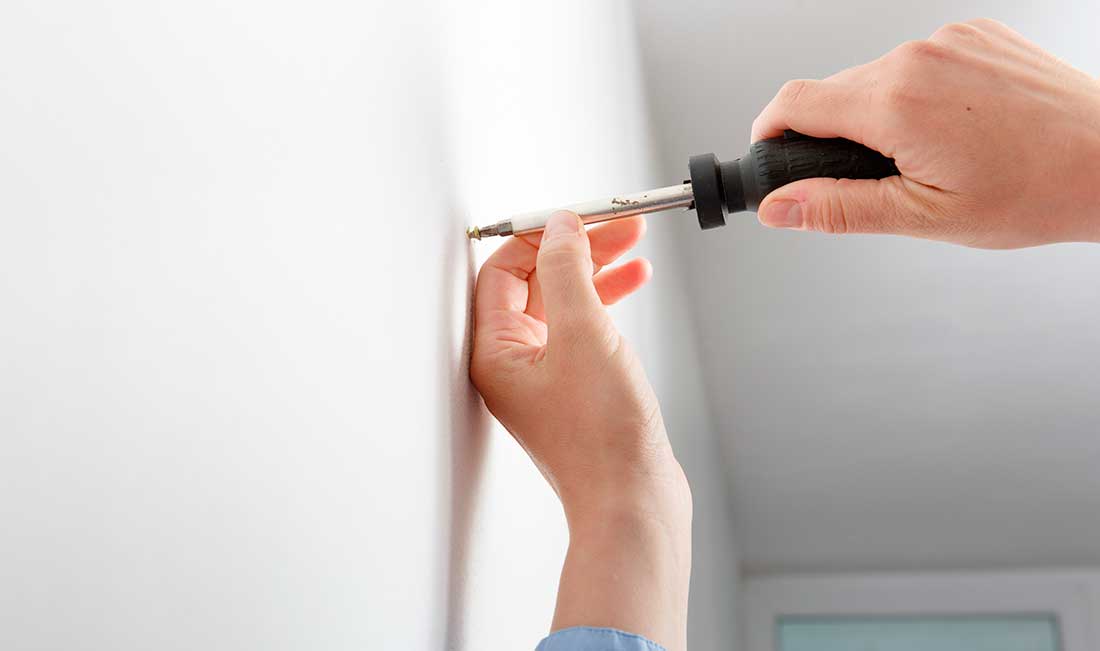
DIY Drywall Repair: The Best Tips to Have Smooth Walls
Having picture-perfect and smooth walls is what every homeowner wishes. But, sometimes, accidents happen, and you have holes and cracks in your walls. If you want to fix any issues soon, then you need to read our DIY drywall repair tips! You’ll have your walls in perfect condition in no time!
When it comes to patching drywall, it’s crucial that you have quality tools and products. If you use low-quality materials or the wrong tools, then you can possibly damage your walls. As a result, you can end up facing even more expensive repairs.
For that reason, you should read this blog to learn the best tips and tricks on how to repair drywall on your own! You’ll be able to fix any small or large holes and have your walls looking perfect!
So, what are you waiting for? Give all your walls a flawless finish!
How to Fix a Large Hole in the Wall: DIY Drywall Repair Tips
No one likes looking at their walls and seeing a large hole in it. It has a negative effect on your home’s appearance. If this is your case, then it’s time you get your tools out and start patching drywall.
In this blog, you can find some things to keep in mind for how to fix a large hole in the wall. You’ll see that you’ll be able to repair the damaged drywall in just a couple of hours. As a result, you won’t have to look at that unsightly hole anymore!
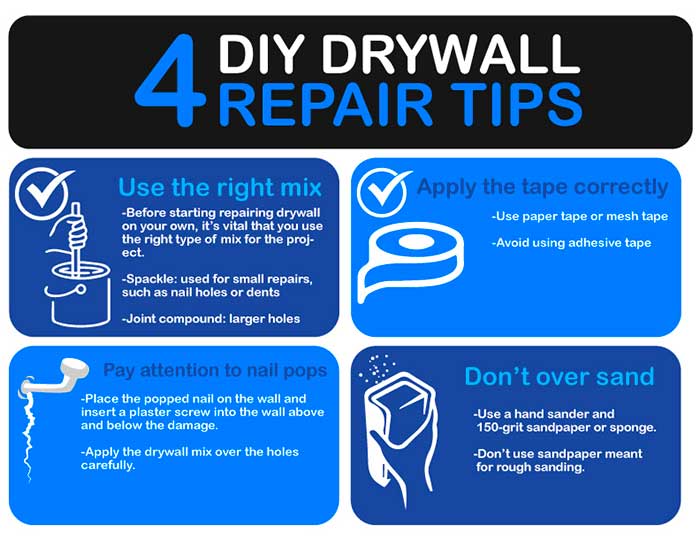
These are the best DIY drywall repair tips:
- Use the right mix
- Apply the tape correctly
- Pay attention to nail pops
- Don’t over sand
If you follow these tips, then you can be sure your wall will look flawless. In other words, it would as if there wasn’t any hole at all!
Use the Right Mix for DIY Drywall Repair!
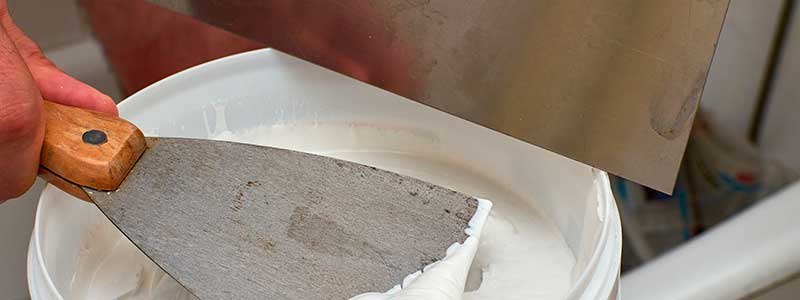
Before starting repairing drywall on your own, it’s vital that you use the right type of mix for the project. So, you need first to figure out the size of the hole, crack, or dent you’ll be fixing. If you use the wrong mix, then you could end up having to re-do the job.
Spackle is the substance that is used to repair drywall, as it is easy to apply and long-lasting material. One of the most significant benefits is that it leaves a comfortable sanding surface. In other words, it’s something you can easily do on your own if you’re careful.
But, you must know that this product is only for small repairs, such as nail holes or dents. If you have larger holes that you need to patch, then you need to use joint compound.
You must be careful before applying any mix. Check the expiration date and open it to test its consistency. If you feel that it is too hard or dry, then it means that the product is expired.
A large part of your project depends on this. So, be sure you get the right type of mix and that it is in good condition.
Be Sure to Apply the Tape Correctly
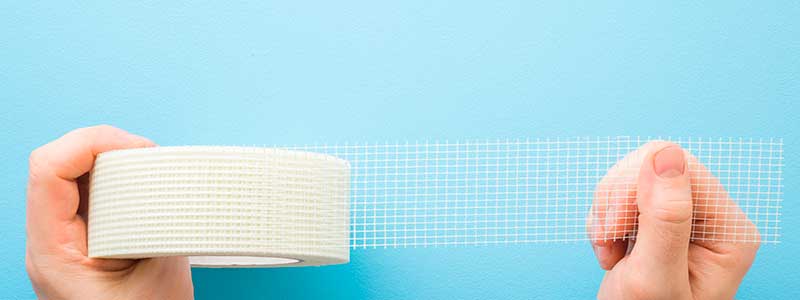
There is nothing worse than a room that has fallen plaster tapes. This type of problem usually arises due to wrong installations or bad decisions. If you choose the wrong material, then you run the risk of seeing drywall casts falling off.
For this reason, drywall tape should be a priority in all DIY drywall repairs. As a result, you’ll ensure a clean and quality result. We don’t recommend using adhesive tape. Instead, try paper tape or mesh tape.
Remember, using the right products and applying them well is crucial in any drywall project. This is because you could end up damaging the surface or the tape falling off in a short amount of time.
Pay Attention to Nail Pops!
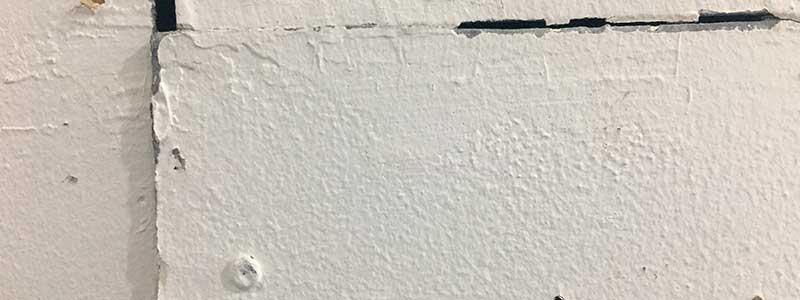
It is usual for nails to cross over the drywall. But, no one enjoys looking at those unsightly nails. Besides being an aesthetic problem, nail pops can damage the rest of your wall.
You will not be able to solve this by just painting over the holes. You need to place the popped nail on the wall and insert a plaster screw into the wall above and below the initial damage.
Next, you have to apply the drywall mix over the holes carefully. If you don’t do this properly, then that same nail that you repaired could pop out again in the future. For that reason, we recommend not rushing through this job.
Don’t Over Sand
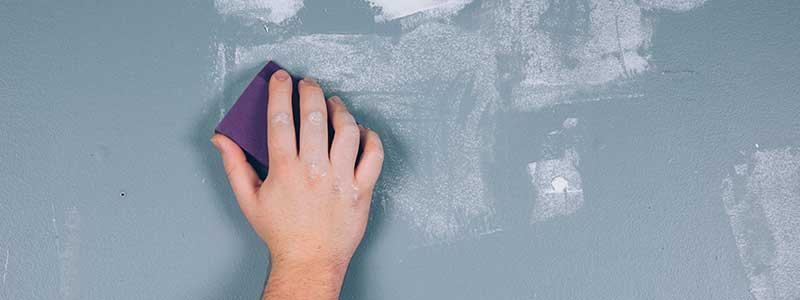
A mistake that many homeowners make when doing DIY drywall repairs is over sanding. We understand that everyone wants a smooth surface. But, over sanding will not get you there.
If you over sand, then you will end up removing part of the proper face. As a result, your surface will be uneven. This means that you will have to apply a second coat. So, over sanding means extra work and extra time that you may not have.
For that reason, we recommend using a hand sander and 150-grit sandpaper or sponge. This type of sandpaper is used for medium sanding. In other words, it is for smoothing surfaces or getting rid of small imperfections.
You have to be careful not to use sandpaper meant for rough sanding. This will only lead you to what you want to avoid, over sanding.
If you want to learn how to fix a large hole in the wall, then you just have to follow these tips! Having holes in your drywall is very common and is something you can fix on your own. But, you must follow every advice carefully.
If you do the job quickly and without a guide, then you run the risk of damaging your walls and facing costly repairs. Take your time to complete your DIY drywall repair, and you’ll see how your walls will look perfect.
Remember also to use the right tools and materials. This will help you get the results you want. So, are you ready to fix your drywall imperfections? With these tips, you’re more than ready to start your project!

