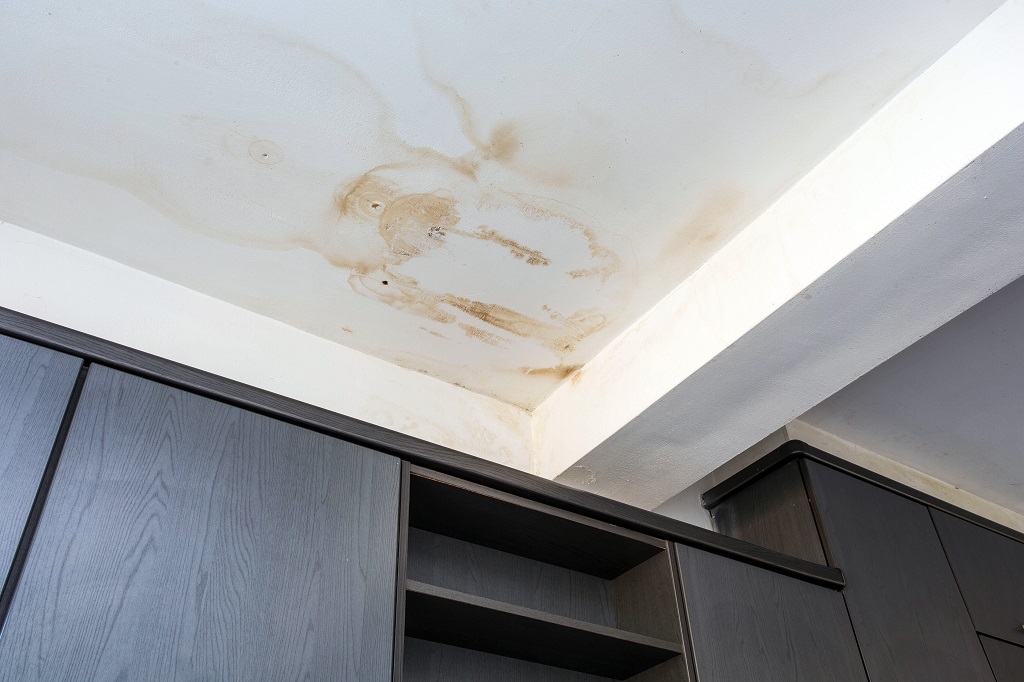
How to Fix Water Stains on Ceiling: Get Rid of Those Ugly Spots
No one likes to look up to their ceiling and notice a horrible brown spot. It can be annoying as it grabs the attention of everyone that comes into your house. So, you should learn how to fix water stains on ceiling. As a result, you won’t have to look at that dreaded spot anymore.
A stain on the ceiling not only ruins your home’s aesthetics; it means you have a moisture problem. Your ceiling stain can be a result of water leaks that seeped through the ceiling and evaporated. As a result, they leave discolored mineral deposits.
If you don’t want to look up to your ceiling and see these horrible marks, then we encourage you to keep reading! You’ll learn step by step how to remove the stains. Don’t wait anymore and get your ceiling fixed.
Follow These Steps to Learn How to Fix Water Stains on Ceiling
When you find a stained area on your ceiling, you shouldn’t wait a long time to fix it. Instead, you should try to address the problem as soon as possible. With the right materials and tools, you can get this home improvement project done in just a few days.
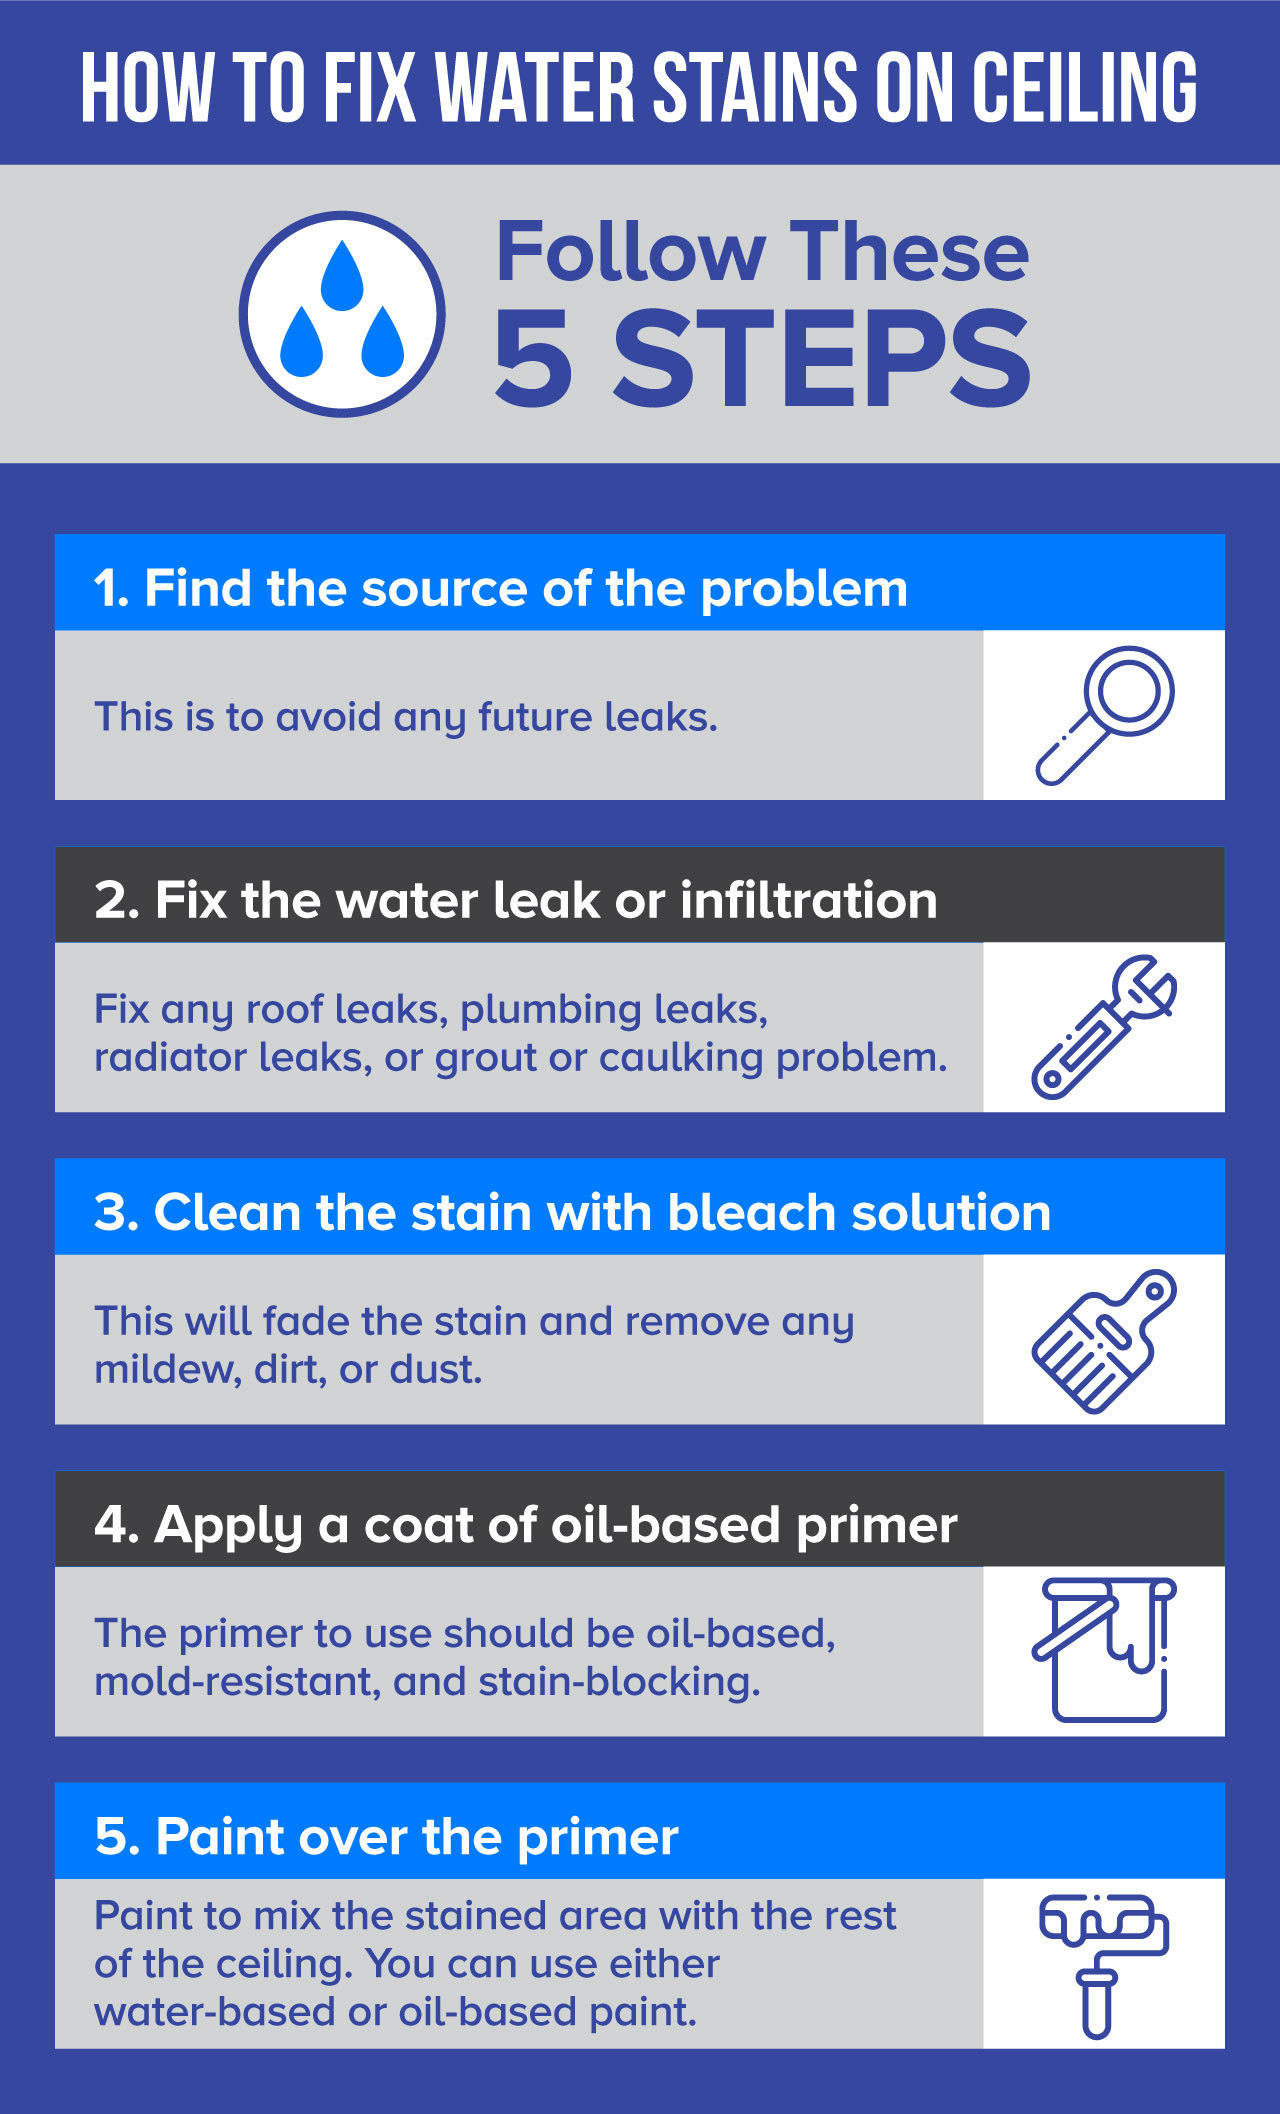
Learn how to fix water stains on ceiling by following these steps:
- Find the source of the problem
- Fix the water leak or infiltration
- Clean the stain with bleach solution
- Apply a coat of oil-based primer
- Paint over the primer
Find the Source of the Problem
As soon as you notice a water stain on your ceiling, you have to find the source of the problem.
So, what causes water stains?
Some of the causes may be a roof leak, plumbing leak in the upstairs bathroom, grout or caulking problem, or a leaky radiator.
Once you’re sure where the water is coming from, then it’s time to fix the problem.
Fix the Water Leak or Infiltration
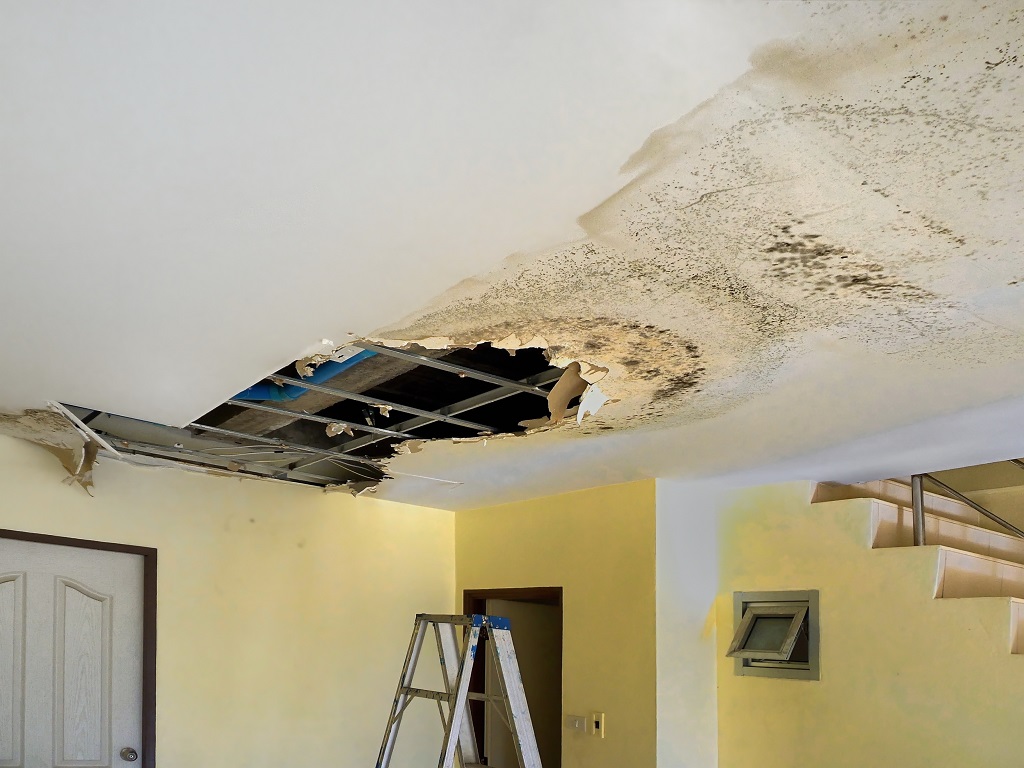
Depending on where the source of the water leak is, the solution will be different. If you find that the problem is too difficult for a DIY project, then we recommend contacting an expert.
Is It a Roofing Problem?
Most of the time, when you find a stain on the ceiling, it is the result of a roof leak. This could be because of missing or damaged shingles. Also, it could be the cause of a sagging roof.
In this case, it is better to call a roofing contractor to help you solve the issue. If you attempt to do the job yourself and do it wrong, then you could face the same problem in the future.
Is It a Problem with the Upstairs Bathroom?
Another common cause for a water stain is some type of problem with your upstairs bathroom.
Firstly, you should check if it is a plumbing leak. Sometimes you may have leaking pipes but are not aware of it. Check every pipe and ensure that you don’t have any leaks. If you do, make sure to replace any pipes that are damaged.
Is It a Radiator Problem?
When the source of the problem is the radiator, then you have to check several places where the issue may be.
Make sure to search the radiator’s valve, pipe, and body. Also, don’t forget the bleed point, which is where cold air escapes the radiator.
Before you attempt to remove the stains from the ceiling, you must follow the steps we mentioned above. This is because all your work could be in vain. In other words, you can have another stain on the ceiling in no time.
If the stained area is too big, then we recommend replacing the entire drywall board. If you have a popcorn ceiling or other textured ceiling, it may be better to contact a drywall contractor to help you.
But, when the spot is not that large, you can follow these steps:
Clean the Stain with Bleach Solution
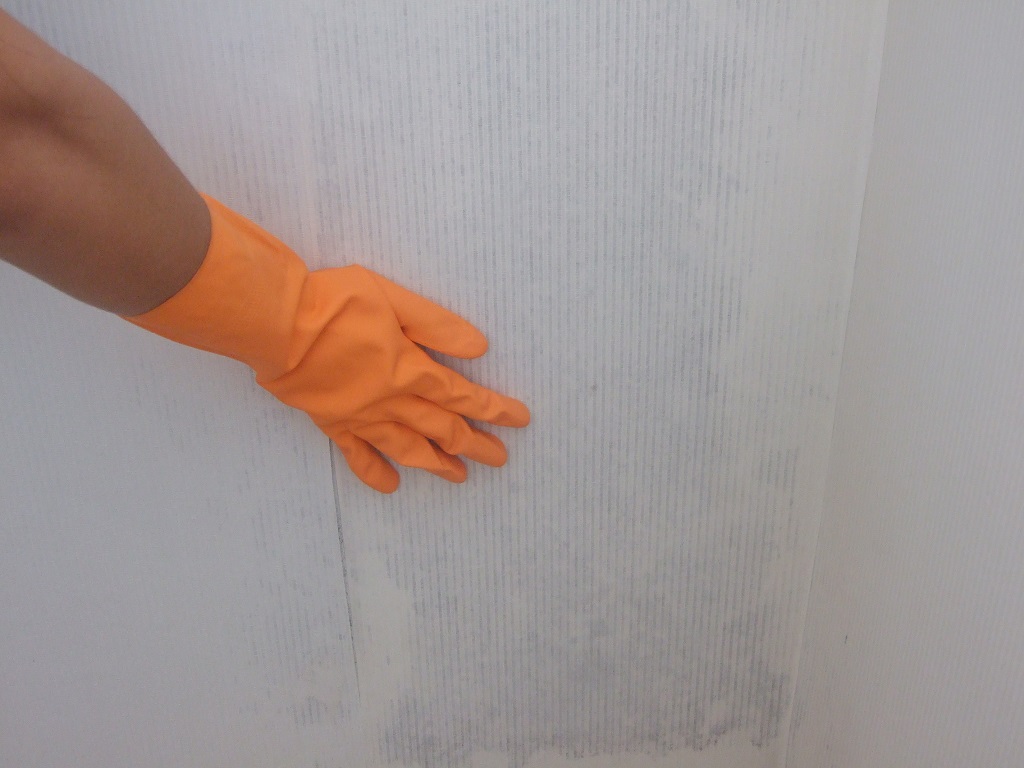
Firstly, check the underside of the drywall and ensure that it is not wet.
Next, it’s time to clean the stained area with a bleach solution. For this, mix some bleach solvent with warm water.
The bleach solution will fade the stain. Also, it will remove any mildew, dirt, or dust. This will ensure that the primer and ceiling paint adhere well to the drywall.
After this, wipe the damp area with a dry cloth. Once it is completely dry, you can move on to the next step.
Apply a Coat of Oil-Based Primer
Now, it’s time for the primer. This is a step many people skip and go straight to the paint. But, this could be a big mistake.
The primer to use should be oil-based, mold-resistant, and stain-blocking. Stay away from any water-based primer as it will do nothing to your stain.
Wait about two hours, or as indicated in the primer packaging, and then move on to the painting.
Paint Over the Primer
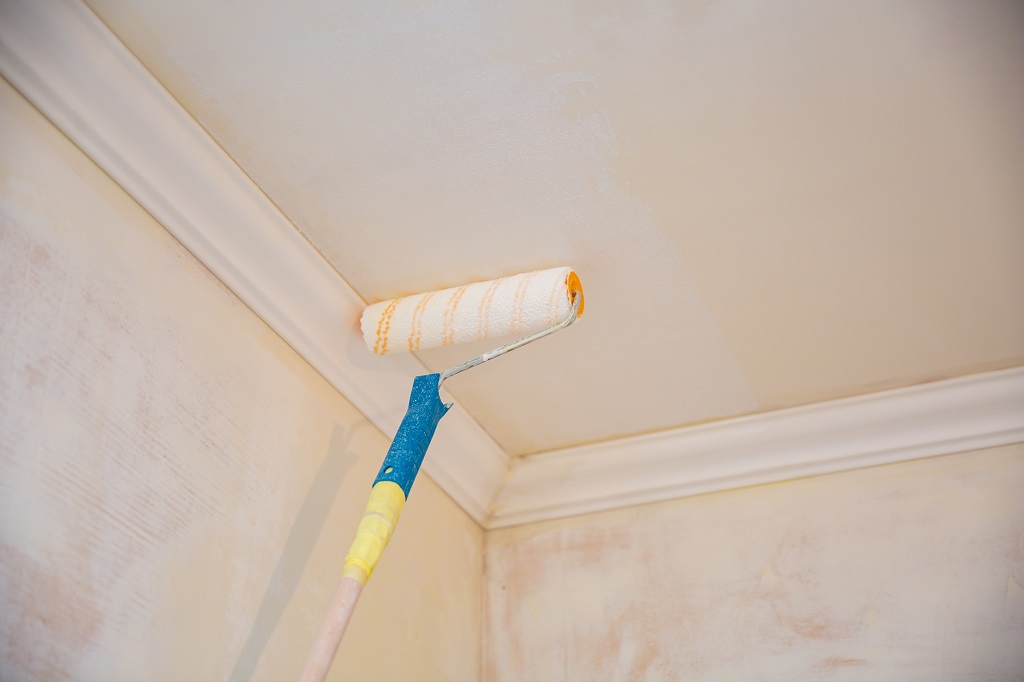
Finally, it’s time for the ceiling paint. After you’ve primed the stained area, it will be a little bit darker or lighter than the rest of the ceiling. For that reason, you should finish off by painting the area.
Since you’ve already primed the area with the stain, you can use either water-based or oil-based paint. Water-based paints will dry faster than oil-based ones.
Once you’ve applied one coat of paint, wait between two to three hours, or as instructed in the paint packaging, and then apply the second coat.
After the second coat dries, your ceiling should look flawless without any sign of a stain.
Follow these steps in how to fix water stains on ceiling so that you get optimal results. Don’t skip any of the steps. If not, then you could end up having to do more work later. You could also face having the same stain appear again and again.
Get all the materials and tools needed and you’re ready to start fixing your ceiling! Make sure that you are always safe and use the appropriate protective gear to avoid any hazards.

